


A bad Fallout Shelter layout does not look like a problem until about population 40, at which point a deathclaw walks through your front door and eats a floor of unarmed dwellers because your rooms are in the wrong order. Everything below is about the decisions you cannot cheaply undo later. If you want the broader beginner advice, our 12 things I wish I knew covers that separately.
Rule one: merge everything in threes
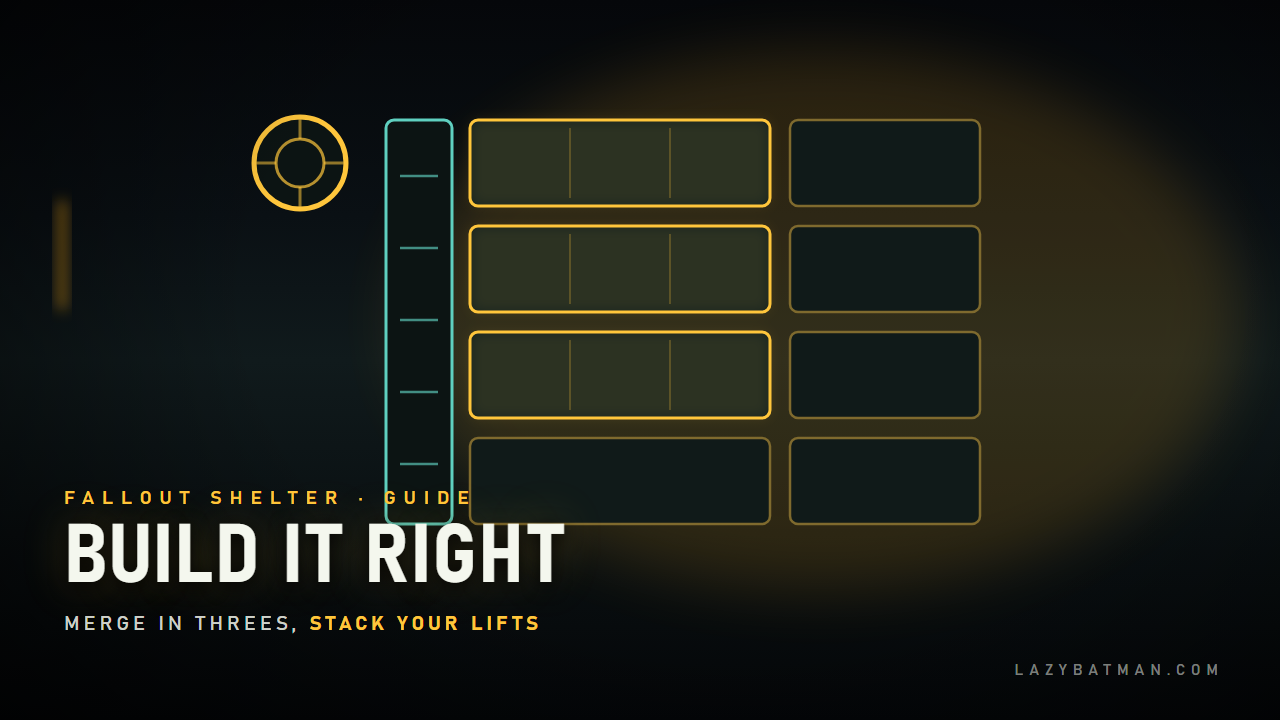
The single most important thing about a Fallout Shelter layout is that identical rooms placed side by side merge, up to a maximum of three.
A three-wide room:
- Holds six dwellers instead of two
- Produces more per dweller than three separate rooms would
- Is cheaper to upgrade than upgrading three singles
- Concentrates your SPECIAL bonuses in one place
Two-wide rooms are a trap. They cost you a merge slot permanently, because you can only extend a room if there is space beside it. Plan each floor as blocks of three from the start, and never place a room in a spot that leaves a one-tile gap.
Rule two: elevators in fixed columns
Scattering elevators wherever you happen to need them is what ruins most vaults. Pick your columns early and keep them consistent on every floor.
The reason is dweller travel time. When a fire starts or raiders arrive, your response speed is entirely a function of how far people have to walk. A vault with elevators in the same two positions on every level moves dwellers vertically in a straight line. A vault with elevators wherever they fit makes everyone take a tour.
A practical pattern: one elevator column on the far left, one in the middle, and three-wide production rooms filling the space between them. That puts most of your population near a lift on every floor.
Rule three: use elevators as firebreaks
This is the rule almost nobody uses deliberately.
Incidents spread sideways to directly adjacent rooms. A fire in a diner spreads to whatever touches the diner. An elevator does not catch fire and does not pass the incident along, so a column of elevators is a wall.
Put an elevator between blocks of rooms you cannot afford to lose at the same time. Splitting your power generation across two blocks separated by a lift means one fire cannot take your whole grid.
Rule four: floor order matters more than room choice
Threats enter from predictable places, and your Fallout Shelter layout should account for that.
From the top: raiders and deathclaws come through the vault door and work downward. Your first floor below the door is your combat floor. Put a three-wide room there that will realistically be staffed, give those dwellers your best weapons and your highest Endurance and Strength, and upgrade the vault door early.
From below and the sides: radscorpions and molerats come out of the surrounding rock, and they appear in rooms that touch bare earth. Rooms fully surrounded by other rooms are much safer. That means the edges of your vault, and any half-finished floor, are where these spawn.
So: fill your floors completely, left to right, before starting a new one. A tidy rectangle is not just neater, it is measurably safer.
A Fallout Shelter layout that works
Top to bottom, this holds up from early game to a full vault:
- Floor 1: vault door, then a three-wide room you keep permanently staffed with your fighters
- Floor 2: three-wide power, then three-wide diner
- Floor 3: three-wide water treatment, then living quarters
- Floor 4 and down: more production in threes, alternating with an elevator column, plus training rooms
- Bottom: storage, radio, and anything you rarely visit
Power first because everything else fails without it. Food and water immediately after, because those two shortages are what actually kill a vault. Training rooms go deep, since nobody needs to reach them in a hurry.
When the threats actually arrive
Most incidents are gated by population rather than time, which means you can prepare before you ever see one. On normal difficulty, roughly:
- Radroaches: from around 9 dwellers
- Raiders: from around 14
- Molerats: from around 31
- Ghouls: from around 41
- Radscorpions: from around 51
- Deathclaws: from around 61
Survival mode brings all of these forward considerably, deathclaws most of all. The practical takeaway is that if you are sitting at population 55 with no weapons on your top floor, you have a known deadline.
Three mistakes worth avoiding
- Building wide before building deep. Extra rooms mean extra dwellers to feed. Get power, food and water stable first.
- Leaving gaps. Every gap is a future merge you cannot make and a molerat spawn you did not need.
- Storage near the top. It produces nothing and defends nothing. Give that floor space to something that works.
The honest summary: your Fallout Shelter layout is the one thing this game refuses to forgive. It is generous about everything else. You can retrain a dweller. You cannot cheaply move a floor.
More Fallout: our Fallout Shelter review, and New Vegas explained for show watchers.
What does your first floor look like? Comments are open.
Fallout Shelter is developed by Bethesda Game Studios and Behaviour Interactive; all rights belong to Bethesda Softworks. Incident thresholds vary between normal and survival mode.
Discover more from Lazybatman
Subscribe to get the latest posts sent to your email.